![[Cover] How to Dull a Glossy Finish](https://www.techlifeland.com/wp-content/uploads/2019/06/Cover-How-to-Dull-a-Glossy-Finish-1024x683.jpg)
If you happen to be a woodworker, then you’ve probably been faced with the problem of dulling a glossy finish. Maybe the finish you’ve sprayed isn’t to your liking; perhaps it’s glossier than you might have expected. Too much gloss isn’t always a good thing. That’s why you’re here trying to learn how to dull a glossy finish, right?
Even though getting a glossy finish is effortless, trying to dull a finish that’s too glossy can be quite the hassle. Some novices might even be intimidated to the point of leaving the finish as it is. However, we’ll be showing you a couple of tips and tricks that will make this process much easier to do so you can get the finish you want with the least amount of effort.
Here’s What You Will Need
In order to dull a glossy finish, there is more than one way to go about doing it. However, we’ll list all the things you might need, but depending on the method you choose, you might not need all of them. Here’s the general list of hand tools that you might possibly need:


How to Dull a Glossy Finish
First Method: Sanding Out the Gloss
This is the first method you should go to when it comes to dulling a gloss finish. It should do the trick just fine. However, if you’re still not happy with the result, you can always try a different method. The good thing about the technique of sanding out the gloss is that it allows you to do other methods as well.
Just like the name of the method implies, this method involves sanding out layers of the gloss finish, so you better be cautious when you’re applying this method. If the finish you’re dealing with is already thin, then you should be careful as you might sand out through the layer and damage the wood instead which is the last thing you want.
First Step: Sanding
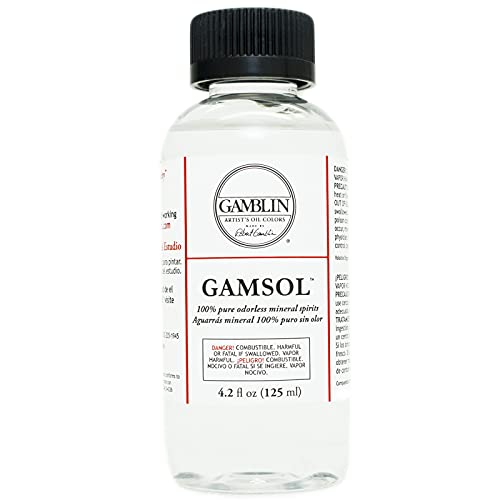
If you’re dealing with a thick finish, then you can start with coarse sandpaper, something like 220 or 300 grit. Then proceed to add some mineral spirits or some soapy water to the piece surface. With all that done, you can begin sanding the surface. All you need is one quick once-over, and you’re good to go. Once you’re done, wipe down the surface and do the same process with the next grit.
If you don’t know how thick the finish you’re dealing with is, it’s best to use a higher grit just to be safe and avoid damaging the wood. Higher grit sandpaper won’t remove as much as lower grit sandpaper, so it’s safer. For this, you can start by using 400 grit sandpaper.
Once you’ve begun using 600 grit sandpaper, proceed to clean the surface and examine the result. If you’re satisfied with the outcome you have, then you can finish things up by cleaning the surface, and there you go! Your work is done.
However, if you’ve dulled the finish more than what you wanted, keep on sanding with the higher grit sandpapers. You need to start off by using wet sanding with 800 grit sandpaper until you’re happy with the result. If the surface is still too dull for your taste, then you can move on to using 1000 grit, then 1200 grit until you’re happy with the result.

Second Step: Polishing
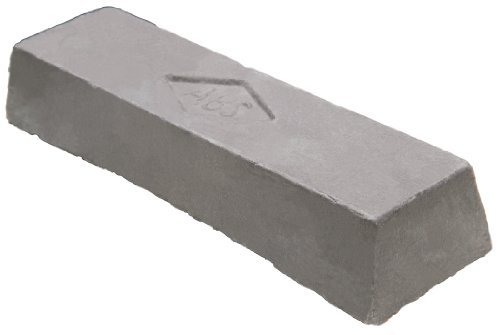
If the sanding process left a lot to be desired when it comes to the finish of the wood, then you can start using a polishing compound to remedy the issue.
Use polishing compound on a buffing pad that’s attached to your orbital sander, and then start polishing the surface. First, you will need to start with a coarse polishing compound. You don’t need to apply any extra pressure to your sander. It should do the work for you.
Once you’re done with the buffing process, proceed to clean the surface with a soft cloth and soapy water. Rinse and repeat but with finer polishing compound.

Second Method: Sanding and Refinishing
If you followed the first method and you’re still not happy with the results, don’t worry. By using this method, you’re guaranteed to get the finish you want!
First of all, you’ll need to get rid of the polishing compound you used previously. In order to do this, you’ll need to use a solvent like a naphtha or anything that’s similar. After you’ve done this, use some 220 grit sandpaper to rough up the finish.
Before you spray the finish, check the surface to make sure it’s dry and clean. Once you do that, lightly spray a coat of the finish you’ve chosen on the piece. The finish you’ve chosen will determine the level of gloss.
The reason we recommend you start by applying a light coat is because you’ll quickly be able to know if you’ve got the finish you’ve wanted. Once you have the result you’re aiming for, add another layer or two of light coating and wait for it to dry and cure.

How to Dull a Glossy Finish: Final Thoughts
Any woodworker worth his (or her) salt should know how to dull a glossy finish. Whether you’re a professional or a hobbyist, you’re eventually going to have to learn how to remove glossy finishes quickly and efficiently. Once you have this in your mind, you’ll be able to take your woodworking game to the next level.
We hope you found this article useful and if you did, then make sure you let your friends know about it so that they can also benefit from it.
PS: if you want to take your skills to the next level, check our buying guides and reviews, where we cover everything you may ever need in your tool box, be it a Tile Saw, Cordless Circular Saw, Circular Saw Blade, Random Orbital Sander, Sliding Compound Miter Saw, Chainsaw Mill, Cordless Tool Set, Table Saw, bucks, or even Chainsaw Chaps. We also like to compare power tool brands, such as DeWalt and Milwaukee.
References:
- mandolincafe, Purposely dulling a gloss finish?
- Fiddle and Alternative Strings Forum, Topic: Any way to dull a high gloss finish?
- woodweb, Dulling Down a Poly Finish
![[Cover] Best Gas Pressure Washer](https://www.techlifeland.com/wp-content/uploads/2019/12/Cover-Best-Gas-Pressure-Washer.jpg)
![[Cover] Best Gas Leaf Blower](https://www.techlifeland.com/wp-content/uploads/2019/08/Cover-Best-Gas-Leaf-Blower.jpg)
![[Cover] Best Chainsaw Chain](https://www.techlifeland.com/wp-content/uploads/2019/07/Cover-Best-Chainsaw-Chain.jpg)