![[Cover] How to Cut a Stair Stringer](https://www.techlifeland.com/wp-content/uploads/2019/06/Cover-How-to-Cut-a-Stair-Stringer-1024x683.jpg)
Ever wondered why you always have to give up an arm and a leg for building stairs, especially when it comes to learning how to cut a stair stringer?
It shouldn’t be any surprise to know that the process is quite time-consuming and challenging.
Sure you can go through it a get it done with haste, but you’d really want to give it the time that it’s due, from planning everything out and being well prepared to double-checking all the factors. In the end, you want stairs that not only look good but also last for a considerable amount of time.
Furthermore, there isn’t exactly an insignificant aspect of the process. Everything about it is essential, but we can probably say that the most critical and crucial of all is accurately laying out a stair stringer.
The measurements and cutting needed for that will only make everything less of a pain in the neck, and, of course, the final result will just be that better for it.
So, let’s cut to the chase, how to cut a stair stringer the right way?
How to Cut a Stair Stringer: Here’s What You Will Need
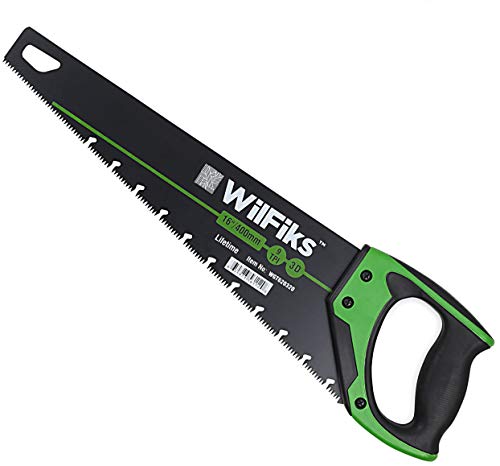
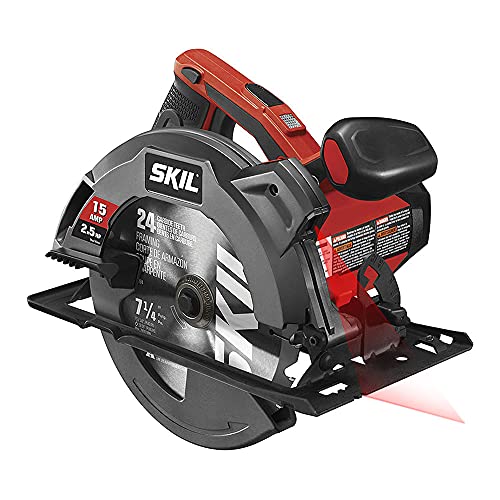
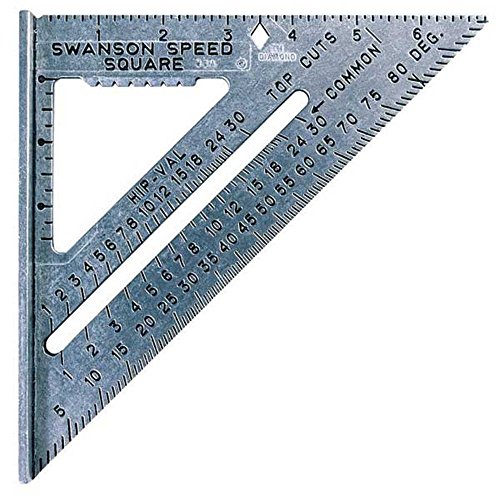
Here’s how it’s done: The project may seem a bit complicated, but the necessary hand and power tools don’t reflect that. Here’s what you need if you want to learn how to cut a stair stringer:


Before You Start: Grasping the Basic Layout of a Stair
You can’t just start working immediately on the project and hope for the best without getting to know the structure of the stairs in detail.
These are the principal parts:
- Treads: The part of the staircase that you walk on.
- Risers: Boards that are used to prolong the stairs’ lifespan improve the appearance and increase the strength by being placed directly under the treads
- Stringer: The sides of the staircase. The sloped boards on each side support the weight of the stair and hold together the risers and treads.
Knowing this, you’ll have a better understanding of the general process of building a stair. Now, for the most important part: how to cut a stair stringer:
HOW TO CUT A STAIR STRINGER in Four Easy Steps
First Step: Set a Plan
Making your stair stringer and constructing the staircase can be rendered less of hardship if you draw out the entire plan before performing any action.
You should start first by making the necessary calculations to figure out the rise and run. What this means is figuring out the width of the reads, the height of the risers and how many of them you’re going to require.
Keep in mind that you’ll have to respect all of the local building codes as you do so.
Second Step: Make Marks and Take Measurements
This is what’s popularly known in the field as “Laying out a stringer.” It’s all mainly about marking the stringers and taking measurements.
All you have to do is take a carpenter’s pencil, a carpenter’s square, and a tape measure and just draw down a layout of all the cuts you’ll have to make on each of the stringer board.
The plan you set in the previous steps will be thoroughly followed in making the layout of the stringers.
This part isn’t as hard as it may seem. The goal behind it is to make every riser and tread at the same height. For that, you’re only required to take two measurements.
Afterward, you can put identical marks for all of the treads and risers by simply moving down the square on the length of the stringers.
Third Step: Start Cutting
Take one stringer and place it flat on the sawhorses.
Perform a gentle and slow cut using a circular saw following the line you marked.
Since it’s going to Zig-Zag, you’ll have to anticipate cuts that you’ll have to perform on sharp 90-degree angles.
At the intersections between 2 lines, it’s preferable to cut short and try to get as close as possible without cutting more than needed.
After the job of the circular saw is done, take out the handsaw and use it to finish the cuts. When it comes to cutting out stair stringers, a handsaw will grant you better precision.
Now you don’t have to cut the second stringer the same way as the first. In fact, most professionals recommend using the first as a template to make things easier.
Place the first stringer on the second one and follow the outlines of the first. That way you ensure an identical cut to the first.
How to Cut a Stair Stringer: Final Step
Congratulations, you’ve made your first two stringers. The job is not done, but it only becomes smoother from here.
Set the stringers in place accurately (mind the distance properly) before setting your attention on doing the treads and risers.
Now you can place the risers and treads in their exact positions. The staircase project is going smoothly and will be done before you know it.
How to Cut a Stair Stringer: Final Thoughts
Don’t let the bad rap fool you. Cutting a stair stringer isn’t as hard or tedious as most people make it
We’re hoping that this article contained all the necessary information for you to actually do the job yourself and be sure of the high quality you’ll end up with. Once the stringers are all done, they’ll only make the job of crafting the treads and risers easier and quicker.
Keep in mind that understanding the anatomy of the staircase is fundamental and necessary. That also goes for creating a clear plan before starting.
If you like our guide, don’t hesitate to share it with everyone!
PS: if you want to take your skills to the next level, check our buying guides and reviews, where we cover everything you may ever need in your tool box, be it a Tile Saw, Cordless Circular Saw, Circular Saw Blade, Random Orbital Sander, Sliding Compound Miter Saw, Chainsaw Mill, Cordless Tool Set, Table Saw, bucks, or even Chainsaw Chaps. We also like to compare power tool brands, such as DeWalt and Milwaukee.
References:
- fine homebuilding, Laying Out Basic Stair Stringers
- wikihow, How to Cut Stair Stringers
- sfgate, The Best Way to Cut Stair Stringers
Table of Contents
![[Cover] Best Electric Pressure Washer](https://www.techlifeland.com/wp-content/uploads/2019/12/Cover-Best-Electric-Pressure-Washer.jpg)
![[Cover] Best Power Tool Brands](https://www.techlifeland.com/wp-content/uploads/2019/06/Cover-Best-Power-Tool-Brands.jpg)
![[Cover] How to Use a Laser Level](https://www.techlifeland.com/wp-content/uploads/2019/08/Cover-How-to-Use-a-Laser-Level-1.jpg)